项目初衷
WAF搭建初衷其实很简单,就是为了漏洞复现赋能的一个工具,漏洞发现后,会因为种种原因无法进行升级操作,而临时修复时,WAF是逃不脱的一环;但是,重中之重,WAF不能做为漏洞修复的依赖,只能作为临时的解决方案,最终修复还是要依靠修改代码逻辑 / 升级版本
文内包含
docker
docker 搭建
昨天裸机搭建了GitLab和OpenResty,但是裸露搭建终究还是有一定的杂乱,所以此次WAF的搭建就选用docker进行
搭建环境:Ubuntu 纯净版
如果之前的系统中有残留的docker,那么使用如下命令卸载即可
1
| apt-get remove docker docker-engine docker.io containerd runc
|
接下来安装docker依赖包
1
2
3
4
5
6
7
| sudo apt-get update
sudo apt-get install \
ca-certificates \
curl \
gnupg \
lsb-release
|
添加docker官方的GPG key
1
| curl -fsSL https://download.docker.com/linux/ubuntu/gpg | sudo gpg --dearmor -o /usr/share/keyrings/docker-archive-keyring.gpg
|
接下里apt安装即可
1
2
3
| sudo apt-get update
sudo apt-get install docker-ce docker-ce-cli containerd.io
|
其实按照官方给出的文档,中间省略了一步GPG key验证
1
2
3
| echo \
"deb [arch=$(dpkg --print-architecture) signed-by=/usr/share/keyrings/docker-archive-keyring.gpg] https://download.docker.com/linux/ubuntu \
$(lsb_release -cs) stable" | sudo tee /etc/apt/sources.list.d/docker.list > /dev/null
|
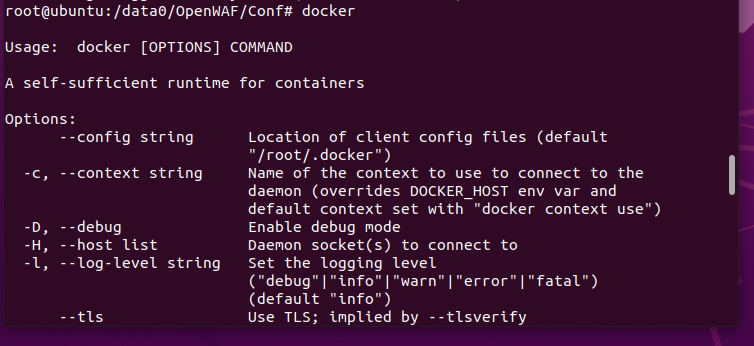
最后输入docker命令验证即可
最后,切记不要忘了换源
1
2
3
4
5
6
7
8
9
| // 编辑docker源文件,没有新建一个即可
vim /etc/docker/daemon.json
{
"registry-mirrors": ["https://docker.mirrors.ustc.edu.cn"]
}
// 重启docker服务
systemctl restart docker.service
|
OpenWAF
OpenWAF 搭建
本次项目使用docker版本搭建,
1
| docker pull titansec/openwaf
|
pull之后,只需要对相关文件和端口做映射就可以安装
1
2
3
4
5
6
7
| start-up docker
docker run -d --name openwaf \
-p 8081:80 -p 8083:443 \
-v /data0/OpenWAF/Conf/ngx_openwaf.conf:/etc/ngx_openwaf.conf \
-v /data0/OpenWAF/Conf/twaf_access_rule.json:/opt/OpenWAF/conf/twaf_access_rule.json \
-v /data0/OpenWAF/Log/openwaf_error.log:/var/log/openwaf_error.log \
titansec/openwaf
|
修改配置文件之后,重启docker即可
1
2
| restart
修改宿主机中的配置文件后,执行 docker restart openwaf(容器名称) 即可
|
OpenWAF 使用
使用过程中,由于我是docker搭建,所以配置文件无法和正常配置一样修改使用,当我新增防护域名以及规则时,docker映射的文件无法满足我的需求,而且也没有其他文档提供帮助,并且截止到本文,github项目已经很长时间没人维护,且issue无人回答,只能放弃改waf的继续尝试,如果想要搭建其他的waf,请查看本文下一个waf的搭建 —— ModSecurity
OpenWAF 报错解决
docker: Error response from daemon: OCI runtime create failed: container_linux.go:380:
但是如果按照我上述的命令敲击的话,100%会报如下错误

这个报错的大致意思可以理解为没有找到对应的-v映射文件,这个就要说到我自己踩的一个坑,docker -v 映射的时候,如果未能找到文件,会自动以该文件命名一个文件夹,所以,即使这条命令报错,你的相关文件夹下,也已经生成了相关的文件夹,并且docker app 也已经同步创建完成
所以,此时需要做两步:
删除创建好的docker app
1
2
3
| docker ps -a
docker rm app_id
|
GitHub源码中的文件拷贝到真实环境下
1
2
3
4
5
6
7
8
| # 这是docker需要映射的文件所在源码中的位置,只需要将其拷贝到自身的服务器目录下, 就好比我的/data0/OpenWAF/Conf
ngx_openwaf.conf: OpenWAF-1.1\lib\openresty\ngx_openwaf.conf
twaf_access_rule.json: OpenWAF-1.1\conf\twaf_access_rule.json
# 最后在/data0/OpenWAF/Log下创建一个log文件
touch openwaf_error.log
|
最后再去执行启动docker app的命令即可

ModSecurity
ModSecurity 搭建
环境变量配置
1
| apt install make gcc build-essential autoconf automake libtool libfuzzy-dev ssdeep gettext pkg-config libcurl4-openssl-dev liblua5.3-dev libpcre3 libpcre3-dev libxml2 libxml2-dev libyajl-dev doxygen libcurl4 libgeoip-dev libssl-dev zlib1g-dev libxslt-dev liblmdb-dev libpcre++-dev libgd-dev
|
安装最新版Nginx
1
2
3
4
5
6
7
8
9
10
| add-apt-repository ppa:ondrej/nginx-mainline -y
# 如果未找到该命令,则先添加他的依赖包 apt-get install software-properties-common
apt update
apt install nginx-core nginx-common nginx nginx-full
vim /etc/apt/sources.list.d/ondrej-ubuntu-nginx-mainline-*.list
deb-src http://ppa.launchpad.net/ondrej/nginx-mainline/ubuntu/ focal main
|
进入到文件后,只需要将最后一条更新源之前的注释取消即可

保存后退出,然后apt update即可
下载Nginx最新包
1
2
3
4
5
6
7
| mkdir -p /usr/local/src/nginx
chown nginx:nginx -R /usr/local/src/
cd /usr/local/src/nginx
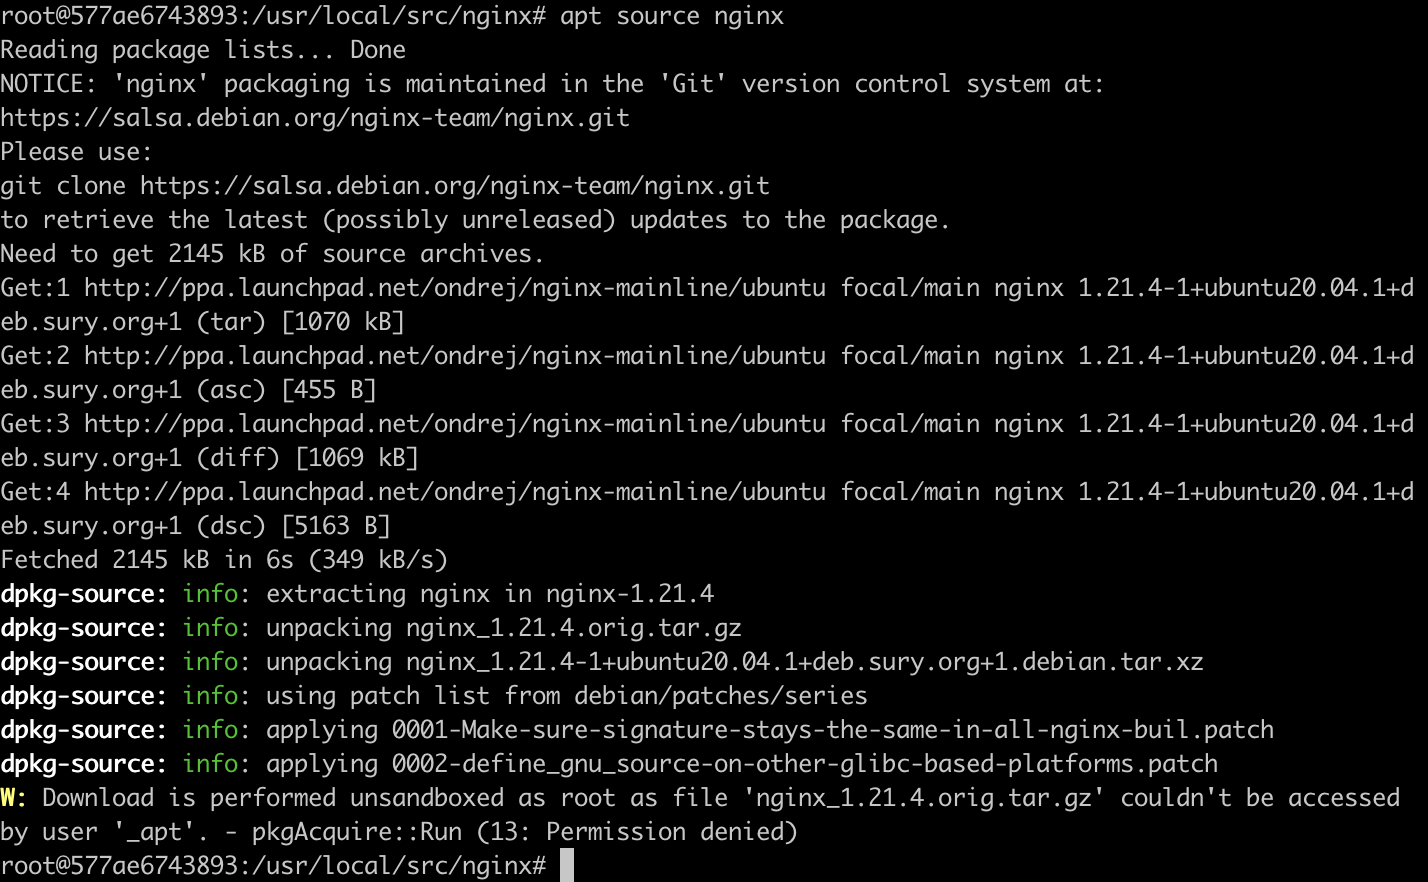
apt source nginx
|
获取源码后,最下方的告警可以忽略
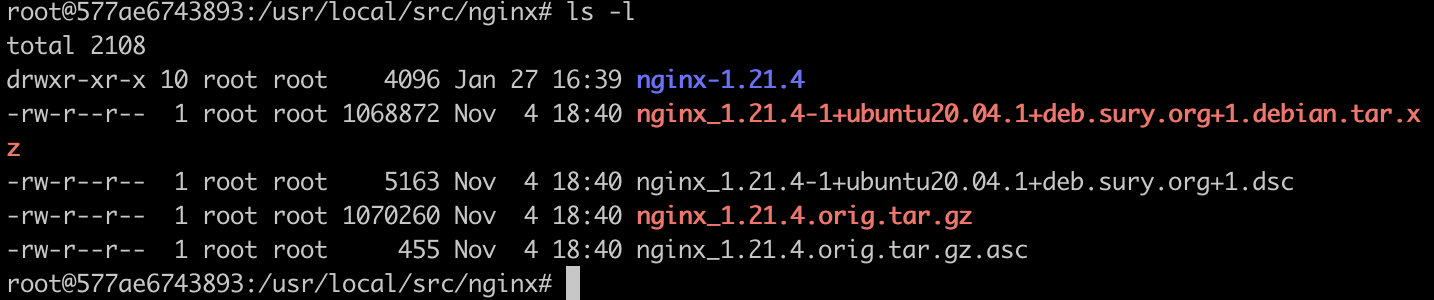
此时,查看文件夹,出现如下文件即可
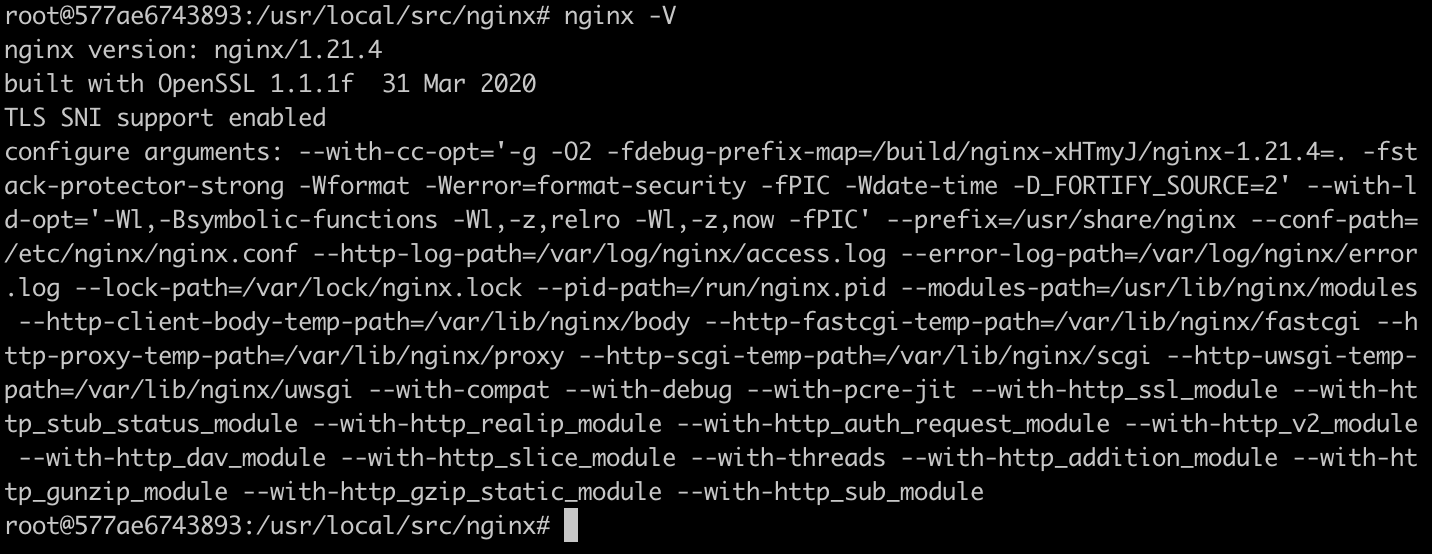
nginx -V 查询版本
安装ModSecurity
1
2
3
4
5
6
7
8
9
10
11
12
13
14
|
apt install git
apt install libmodsecurity3
git clone --depth 1 -b v3/master --single-branch https://github.com/SpiderLabs/ModSecurity /usr/local/src/ModSecurity/
# 由于国内clone github速度慢,所以可以将链接中的github替换成镜像源:https://github.com.cnpmjs.org/
cd /usr/local/src/ModSecurity/
git submodule init
git submodule update
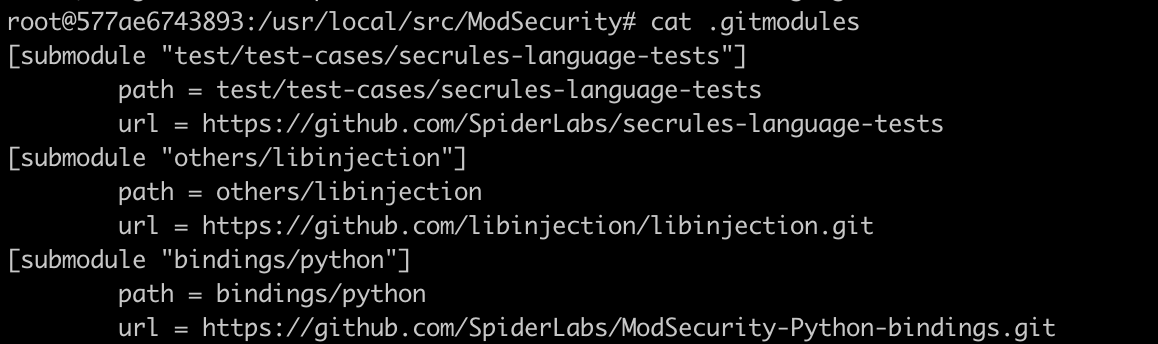
# update 也是从github进行clone数据,如果无法连接github,则手动不如到相关的目录使用镜像源git clone 即可
# update 项目可查看 cat .gitmodules 文件,如下图所示
|
更新完成后如下图所示

接下里只需要build即可
1
2
3
4
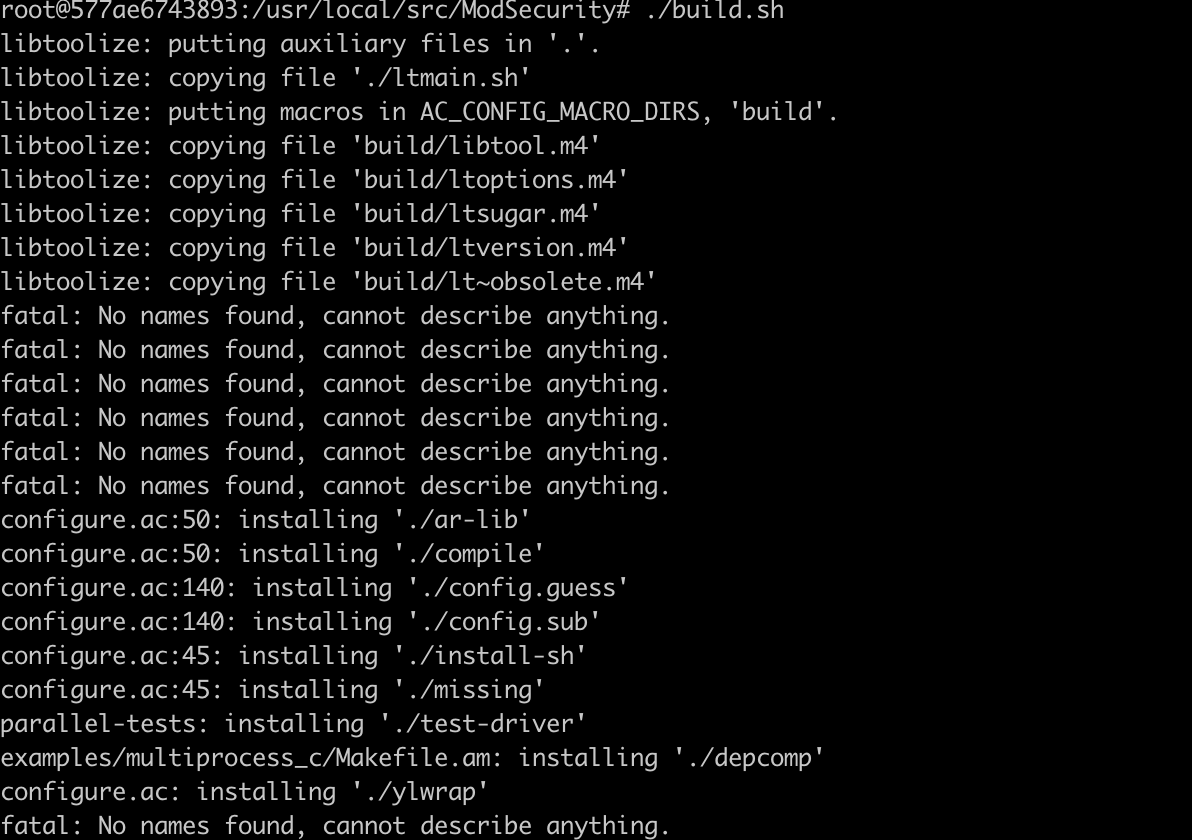
| ./build.sh
# build过程中会出现“fatal: No names found, cannot describe anything.”,无需担心,正常执行即可
./configure
|
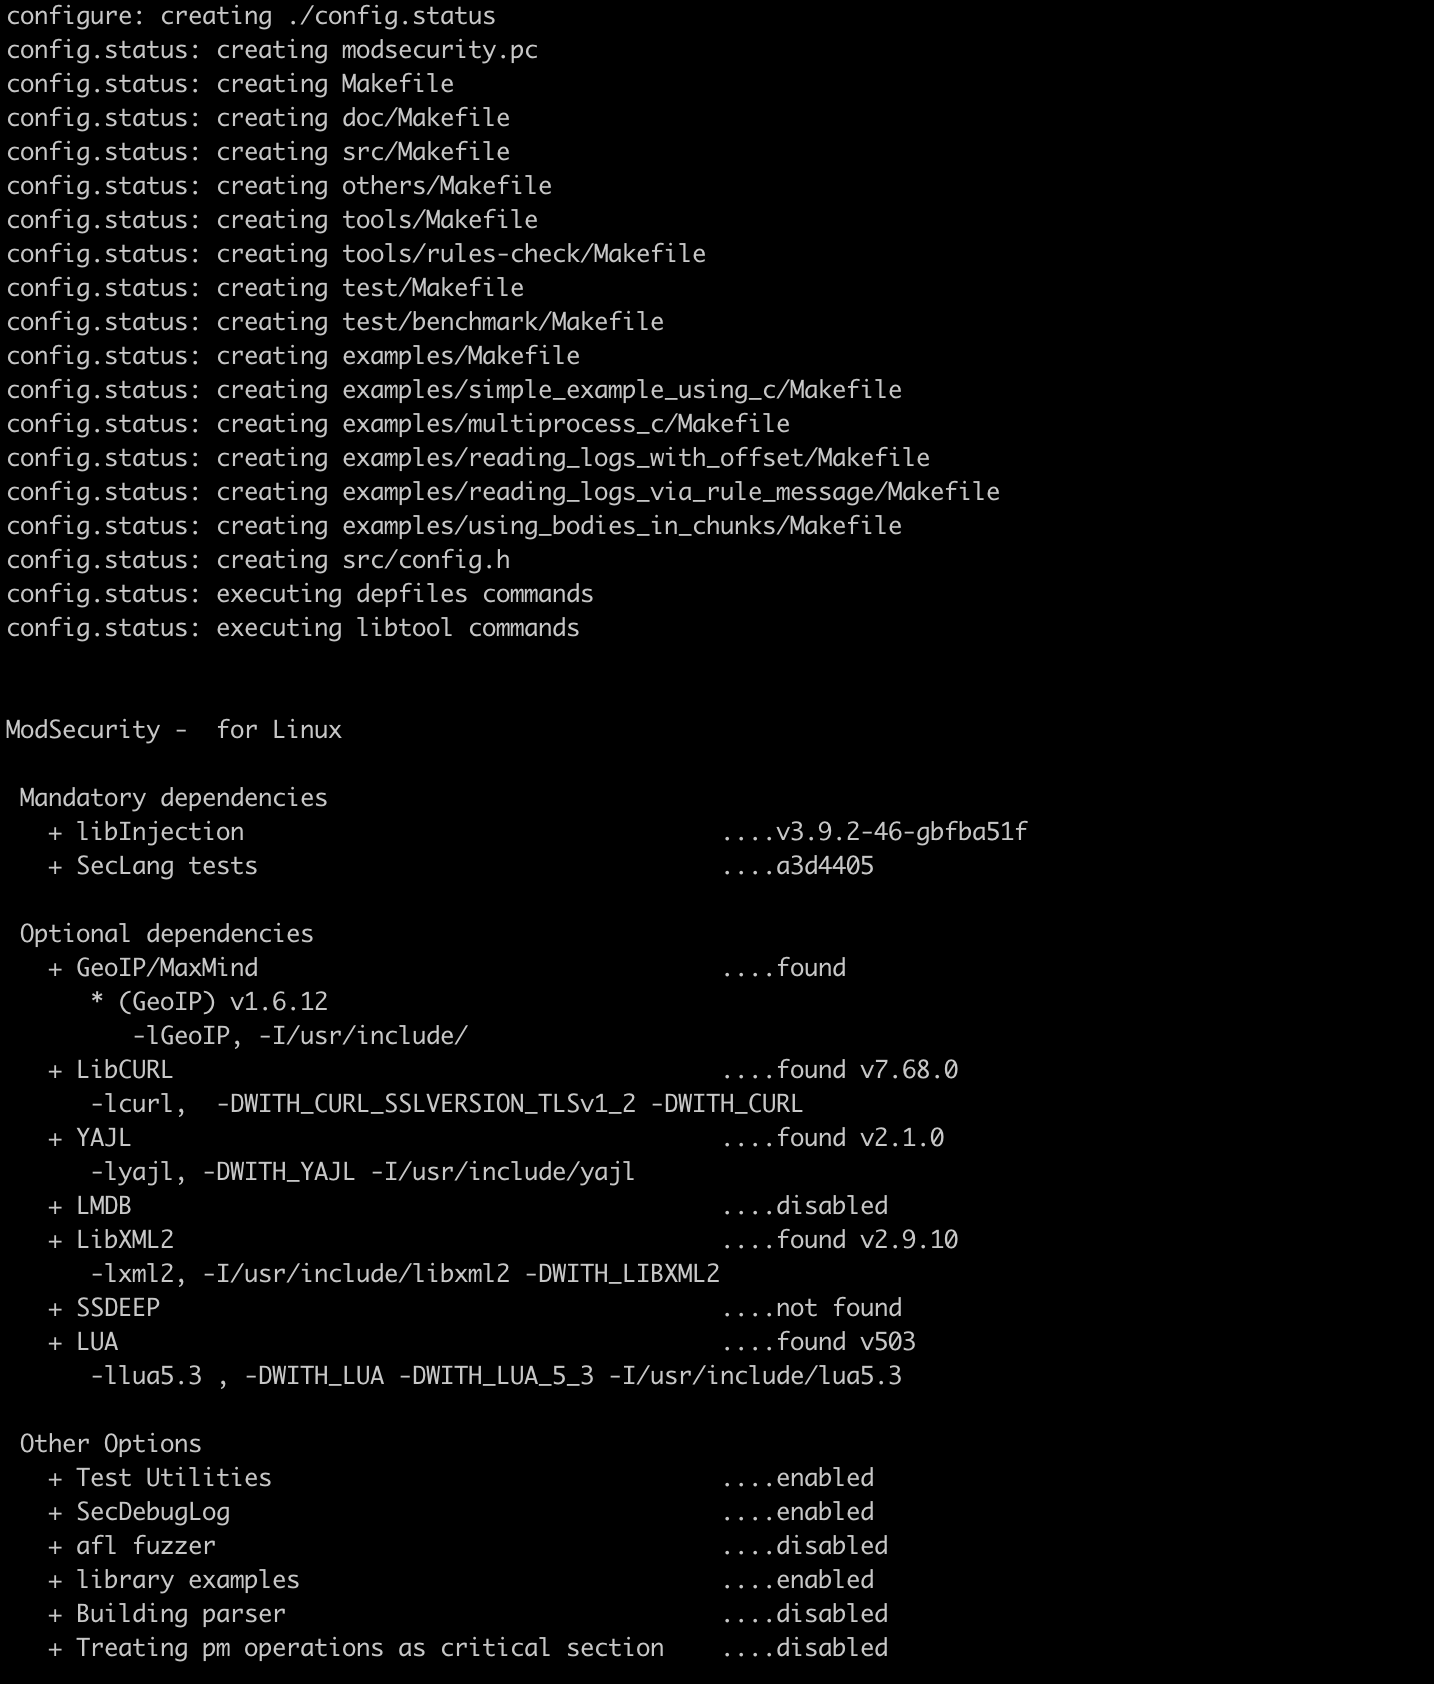
执行完成之后,进入到最后编译阶段
下载配置ModSecurity-Nginx
ModSecurity最初设计是依托于Apache的,所以我们想要配置到Nginx上,就必须配置其Nginx连接器
1
2
3
4
5
6
7
8
9
10
11
12
13
14
15
| git clone --depth 1 https://github.com/SpiderLabs/ModSecurity-nginx.git /usr/local/src/ModSecurity-nginx/
cd /usr/local/src/nginx/nginx-1.21.4/
apt build-dep nginx
apt install uuid-dev
./configure --with-compat --add-dynamic-module=/usr/local/src/ModSecurity-nginx
# 为Nginx配置新的模块
make modules
cp objs/ngx_http_modsecurity_module.so /usr/share/nginx/modules/
# 将已经编译好的so文件拷贝到Nginx的模块处
|
加载Nginx模块
1
2
3
4
5
6
7
8
9
10
11
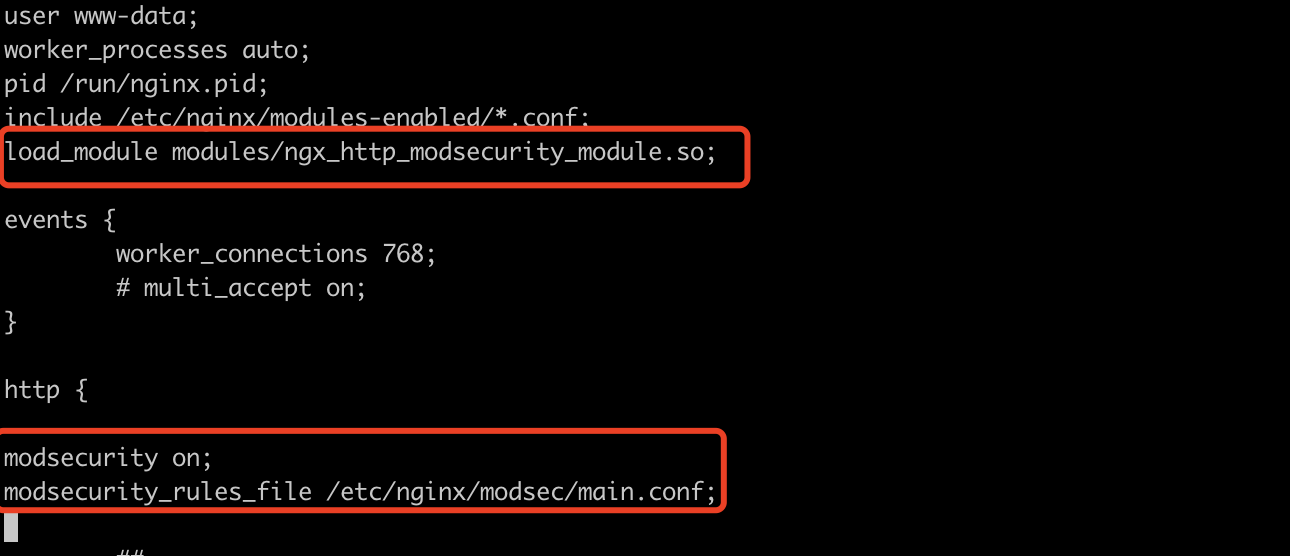
| vim /etc/nginx/nginx.conf
# 分别在文件头,以及http处添加如下配置
# 文件头
load_module modules/ngx_http_modsecurity_module.so;
# http配置
modsecurity on;
modsecurity_rules_file /etc/nginx/modsec/main.conf;
|
相关配置如下图所示
接下里开始waf拦截配置
1
2
3
4
5
6
7
8
9
| mkdir /etc/nginx/modsec/
cp /usr/local/src/ModSecurity/modsecurity.conf-recommended /etc/nginx/modsec/modsecurity.conf
vim /etc/nginx/modsec/modsecurity.conf
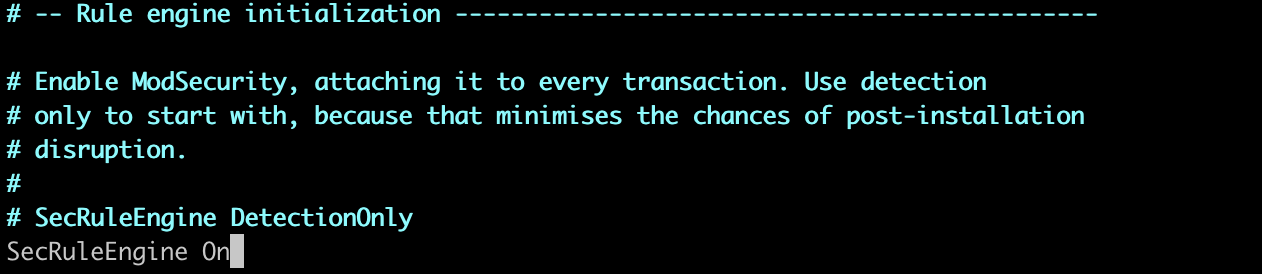
# 进入到配置文件后,找到SecRuleEngine词条,将其改为“On”
SecRuleEngine On
|
SecRuleEngine 词条为DetectionOnly时,意味着只做攻击记录,但是不对攻击做任何拦截,改为On时,意味着会对攻击做拦截处理,如下图所示
接着编译主配置文件
1
2
3
4
5
6
7
8
9
10
11
12
13
| vim /etc/nginx/modsec/main.conf
# 将下述内容写入文件,写入后退出即可
Include /etc/nginx/modsec/modsecurity.conf
cp /usr/local/src/ModSecurity/unicode.mapping /etc/nginx/modsec/
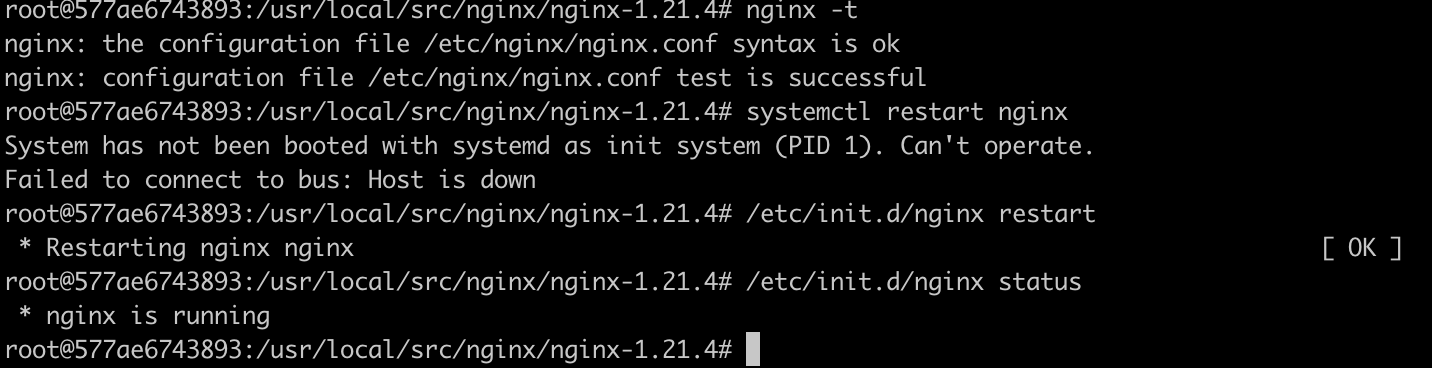
# 接下来重启Nginx即可
nginx -t
/etc/init.d/nginx restart
|
下载owasp规则
1
2
3
4
5
6
7
8
9
10
11
12
13
14
15
16
| apt-get install wget
wget https://github.com/coreruleset/coreruleset/archive/v3.3.0.tar.gz
tar xvf v3.3.0.tar.gz
mv coreruleset-3.3.0/ /etc/nginx/modsec/
rm -rf v3.3.0.tar.gz
mv /etc/nginx/modsec/coreruleset-3.3.0/crs-setup.conf.example /etc/nginx/modsec/coreruleset-3.3.0/crs-setup.conf
vim /etc/nginx/modsec/main.conf
Include /etc/nginx/modsec/coreruleset-3.3.0/crs-setup.conf
Include /etc/nginx/modsec/coreruleset-3.3.0/rules/*.conf
|
修改后的主配置文件如下

配置完成后,重启nginx即可
waf测试
在Ubuntu搭建一个测试环境
1
2
3
4
5
6
7
8
9
10
11
12
13
14
15
16
| # /data0/HttpDemo 下新建一个文件 ceshi.html,然后Python 启动http服务,然后在nginx中配置server
# /etc/nginx/nginx.conf
server {
listen 80;
location /waftest {
root html;
index index.html index.htm;
proxy_pass http://127.0.0.1:8000/ceshi.html;
}
}
# 刷新nginx配置,并重启
nginx -t
/etc/init.d/nginx restart
|
使用ip直接访问时,会提示404,期初以为是我nginx配置问题,但是自从我看了waf的拦截日志
/var/log/modsec_audit.log
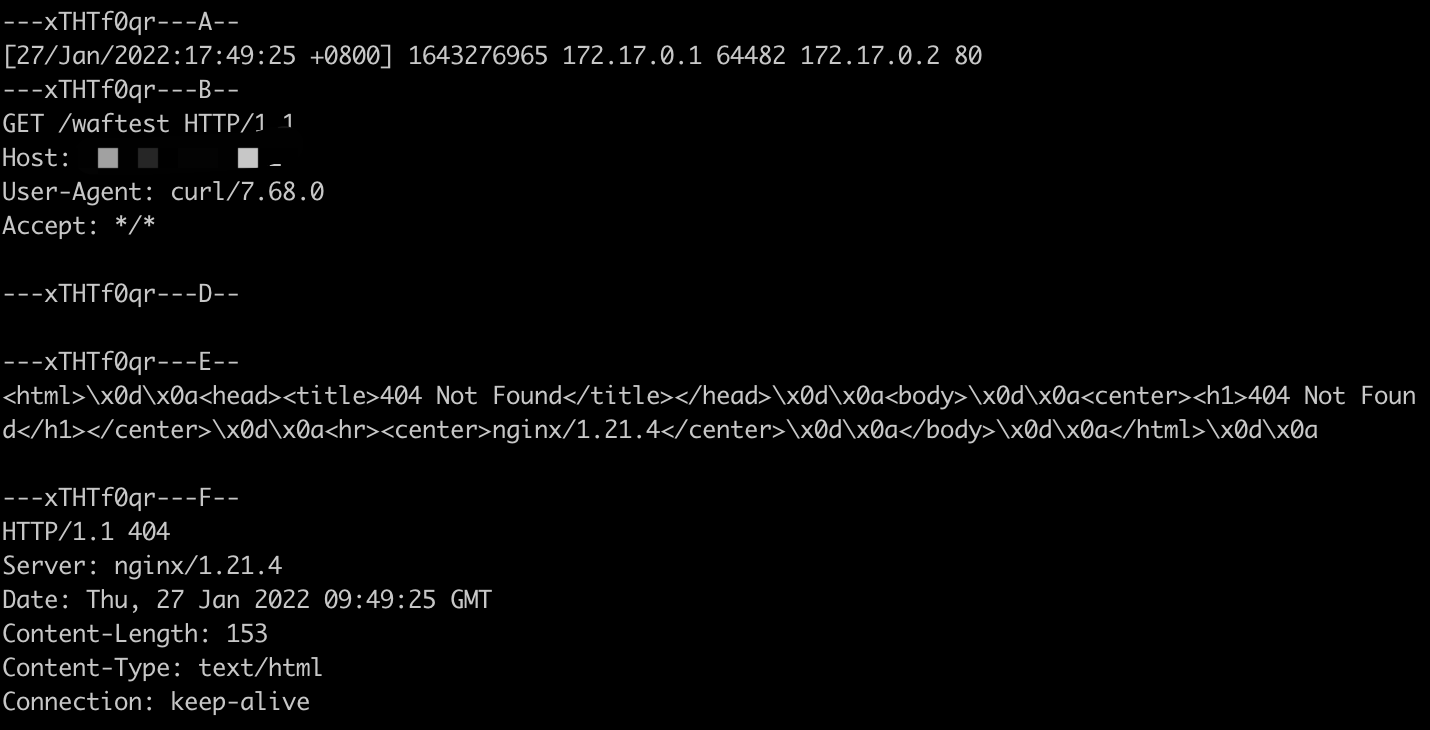
如下是触达规则说明
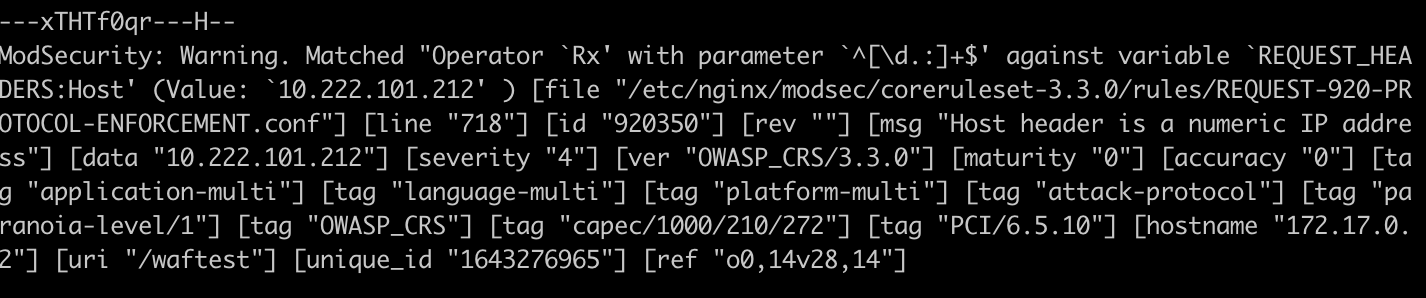
waf检测到了host为ip,则直接不允许访问
此时修改nginx的config文件,为其绑定域名
1
2
3
4
5
6
7
8
9
10
| server {
listen 80;
server_name gitlab.edevops.top;
location /waftest {
root html;
index index.html index.htm;
proxy_pass http://127.0.0.1:8000/ceshi.html;
}
}
|
如果测试环境的话,记得把域名和ip在hosts中做绑定,进而访问域名
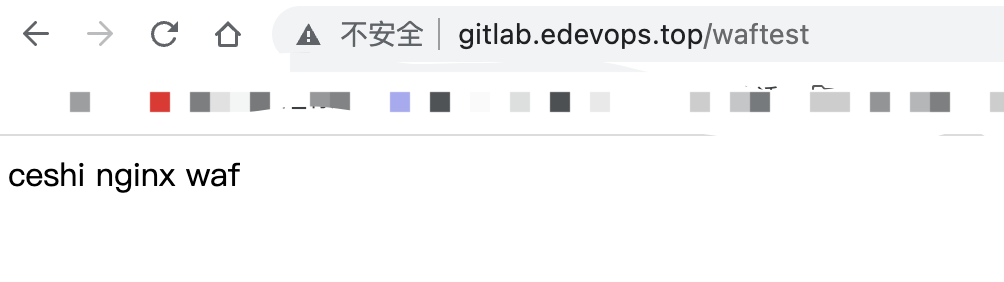
成功访问,此时可以看到waf已经正常起作用;但是这样简单粗暴的waf规则,属实是有点不好用,所以此处就挖一个坑吧,日后学习过程中完善waf的规则体系。
参考文献
docker install 官方文档
OpenVPN 官方文档
Ubuntu 安装 ModSecurity
install ModSecurity on ubuntu